

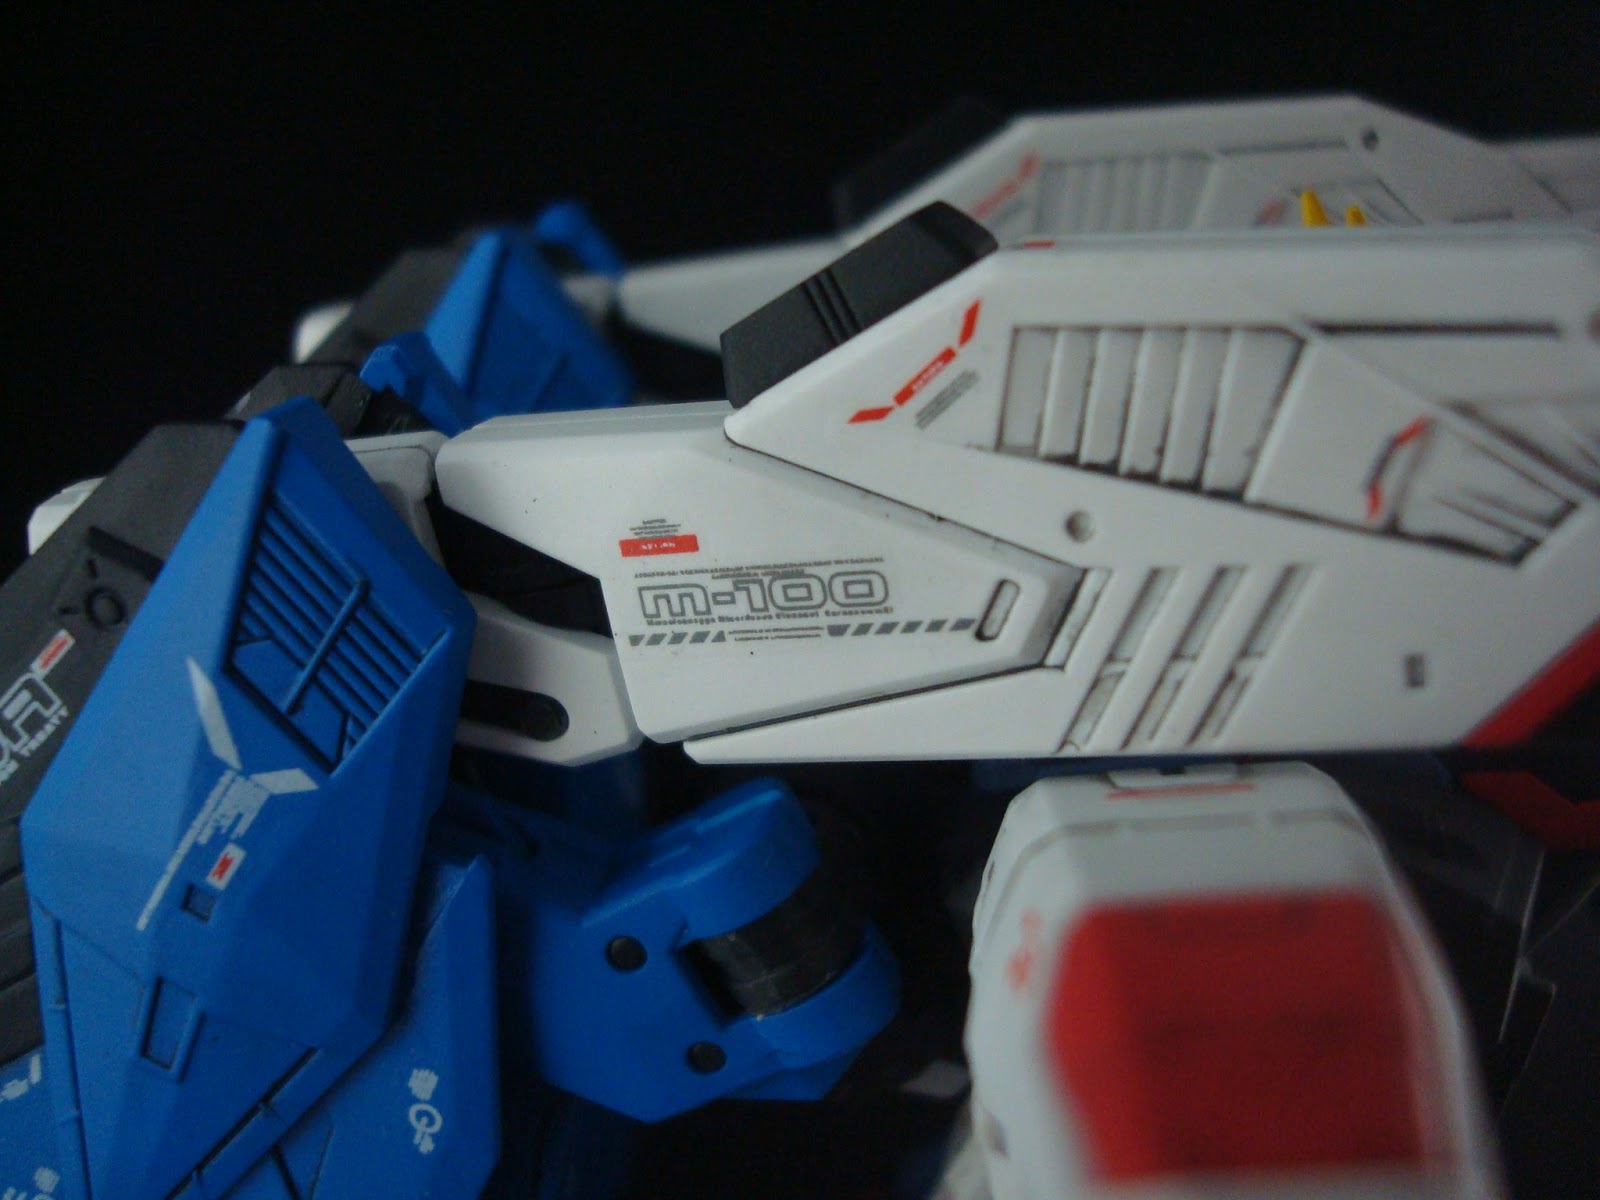
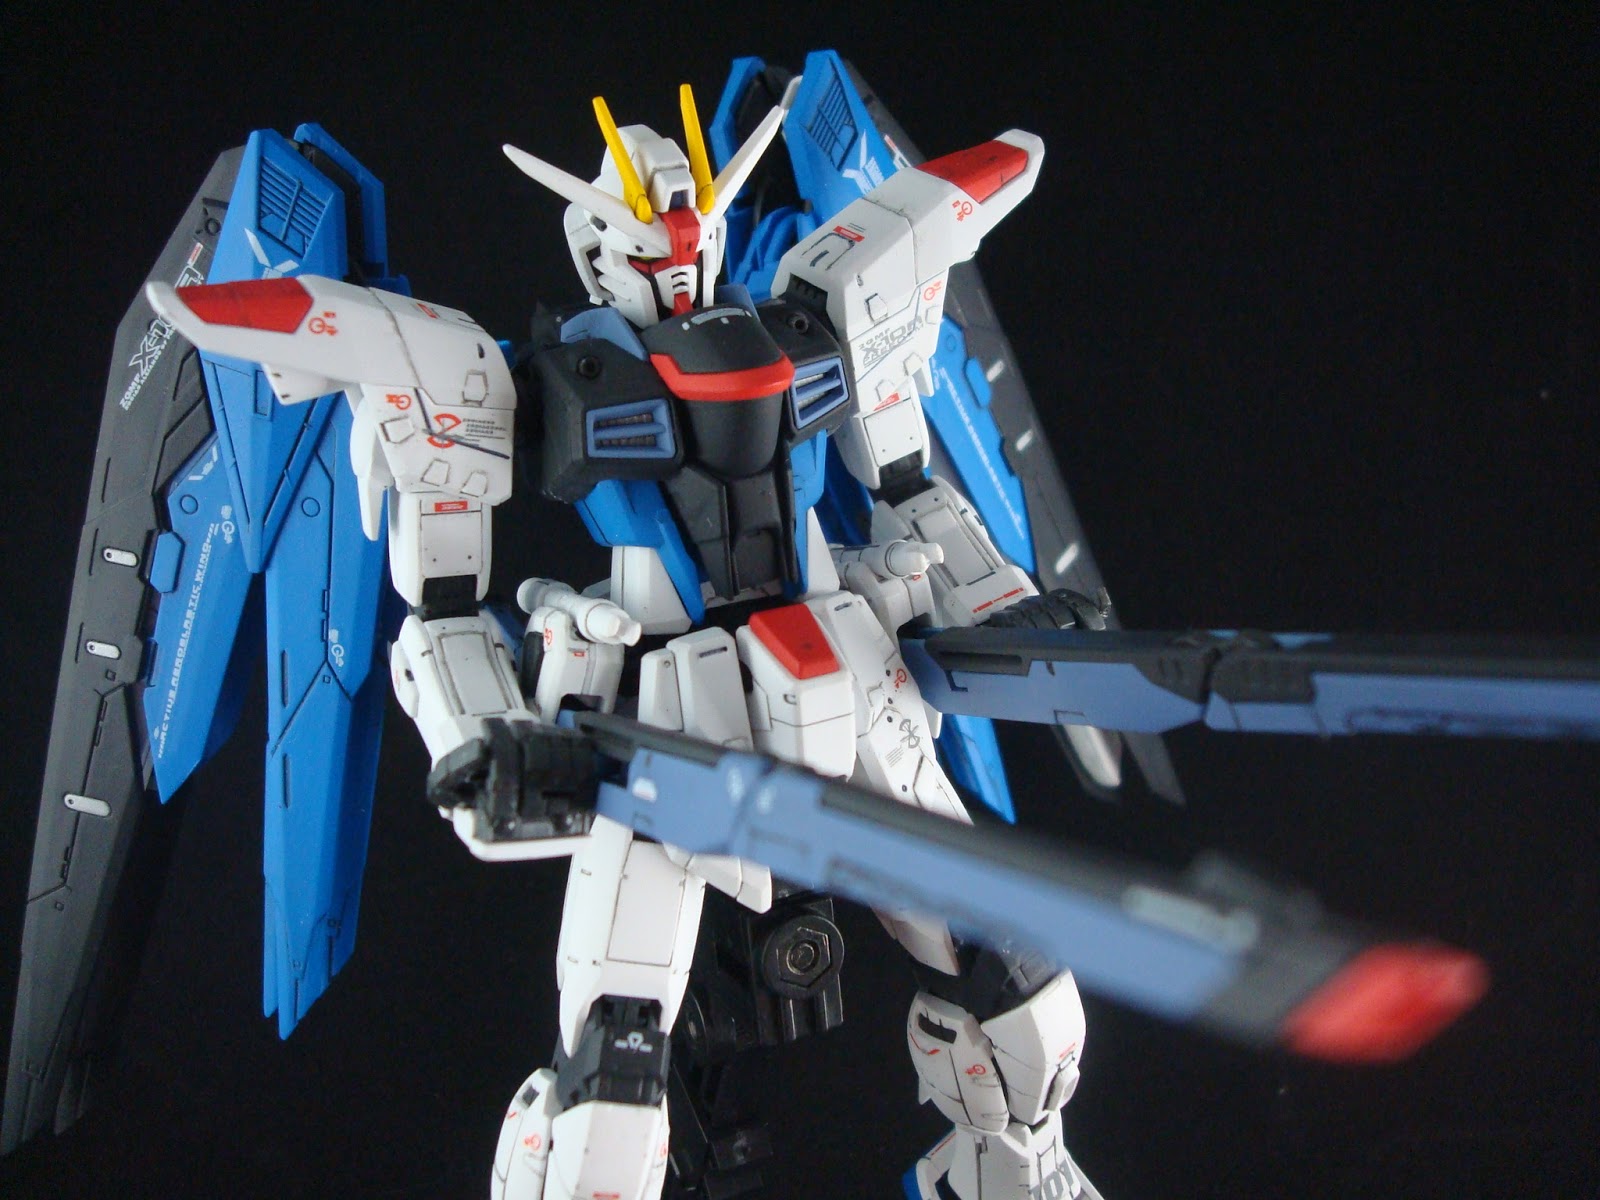
Here it is! I started this kit about a month ago and I've finished it about a week ago, but I finally got around to photographing it. It is fully painted and decaled using a 3rd party waterslide decals from gobaltoy over at eBay. I can't give a review of the decals since this is the first kit I've ever decaled; thus, I have no experience using Bandai's or even Samuel Decal's that I can compare with. However, I can say that I've had no problems with it.
Paint Guide:
Note: Unless noted, the paints are from the Mr. Color paint line.
Primers:
- Mr. Primer 1200
- Tamiya White Primer
- Tamiya Grey Primer
White
- 100% White (1)
Off-White (based on 1 ml of paint total)
- 100% White (1) + 1 drop of Neutral Grey (13)
Dark Grey
- 70% Black (2) + 30% White (1)
Red
- 60% Red Madder (68) + 40% Shine Red (79)
Blue Grey (based on 1 ml of paint total)
- 50% White (1) + 50% Medium Blue (72) + 4 drops of Purple (67)
Light Blue
- 65% Bright Blue (65) + 35% White(1)
Dark Blue
- 50% Blue (5) + 40% Black (2) + 10% White (1)
Eyes
- Base coat: 100% Silver (8)
- Finishing coat: 100% Tamiya Clear Yellow
- Black surrounding: 100% Model Master Classic Black
V-fin
- 55% Yellow (4) + 30% White (1) + 15% Orange Yellow (58)
Camera
- 100% Clear Blue (50)
Vents, Thrusters, other details
- 100% Silver (8)
Panel Lines
- Model Master Gunship Grey
- Model Master Classic Black
Clear coat and Top coat
- Super Clear III (GX 100)
- Super Clear Flat (182)
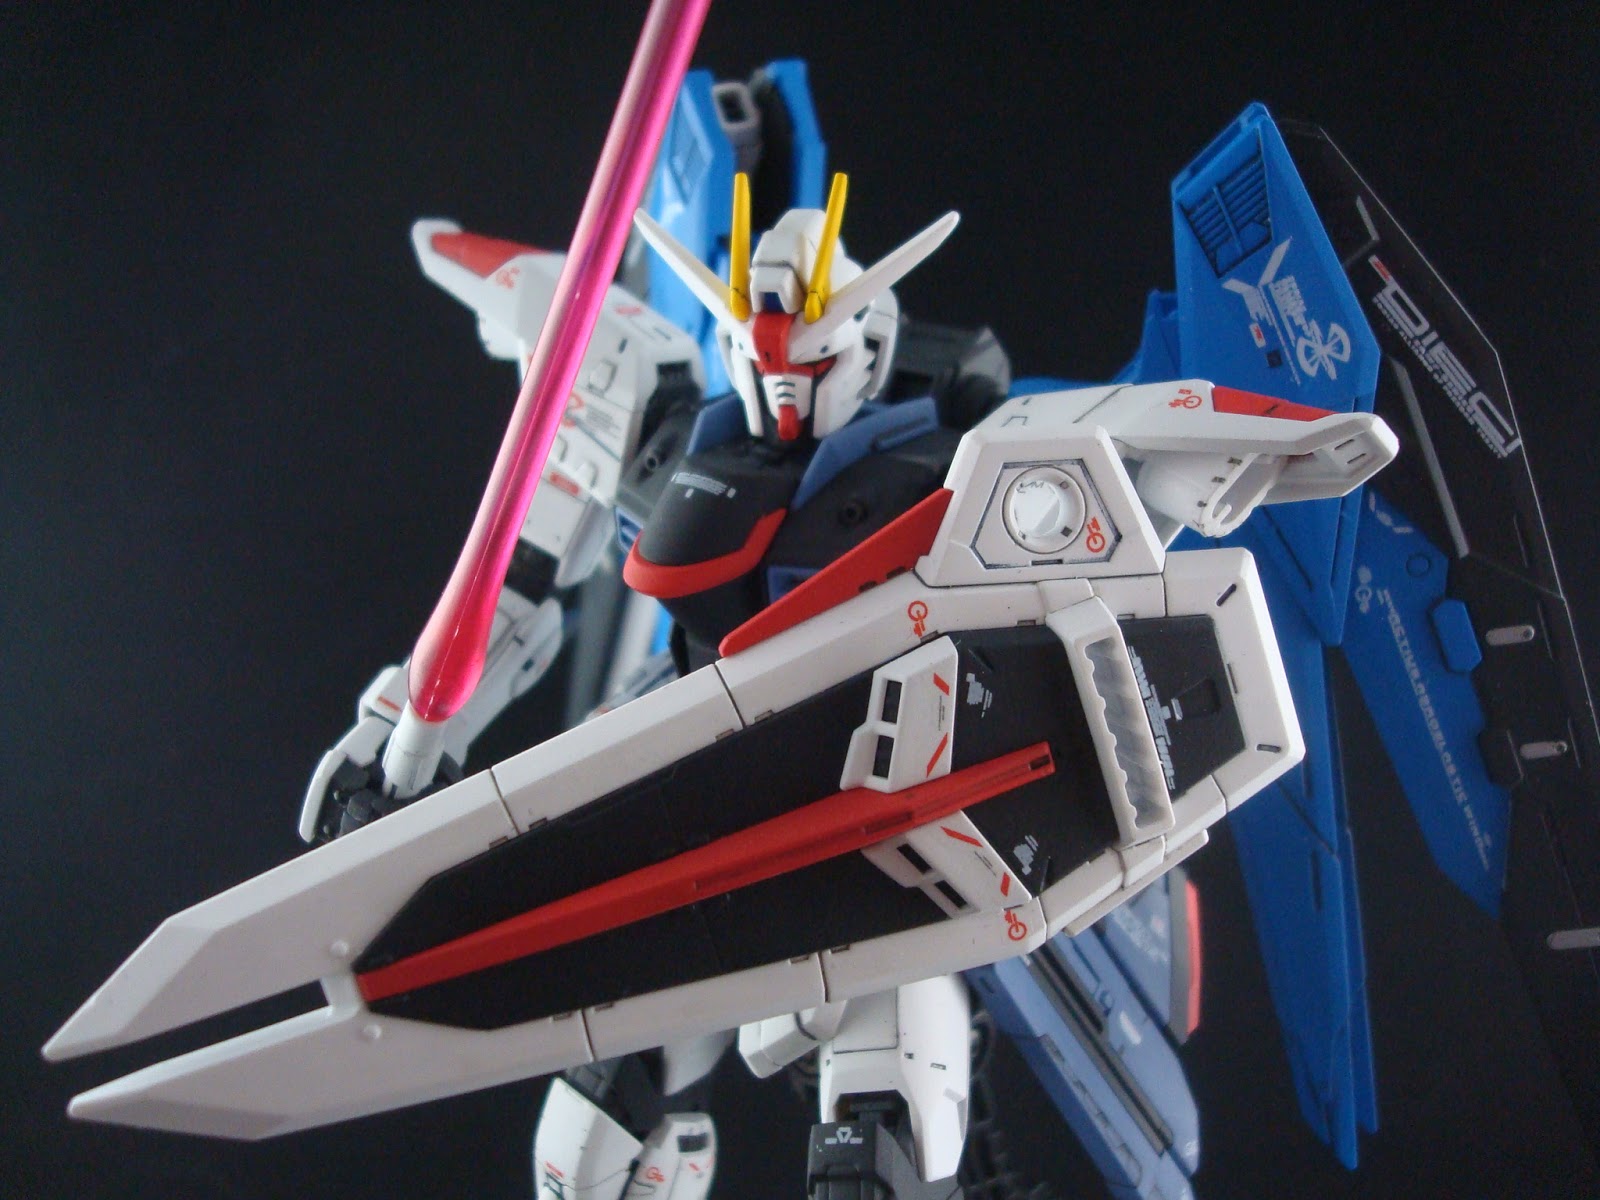
Pictures:
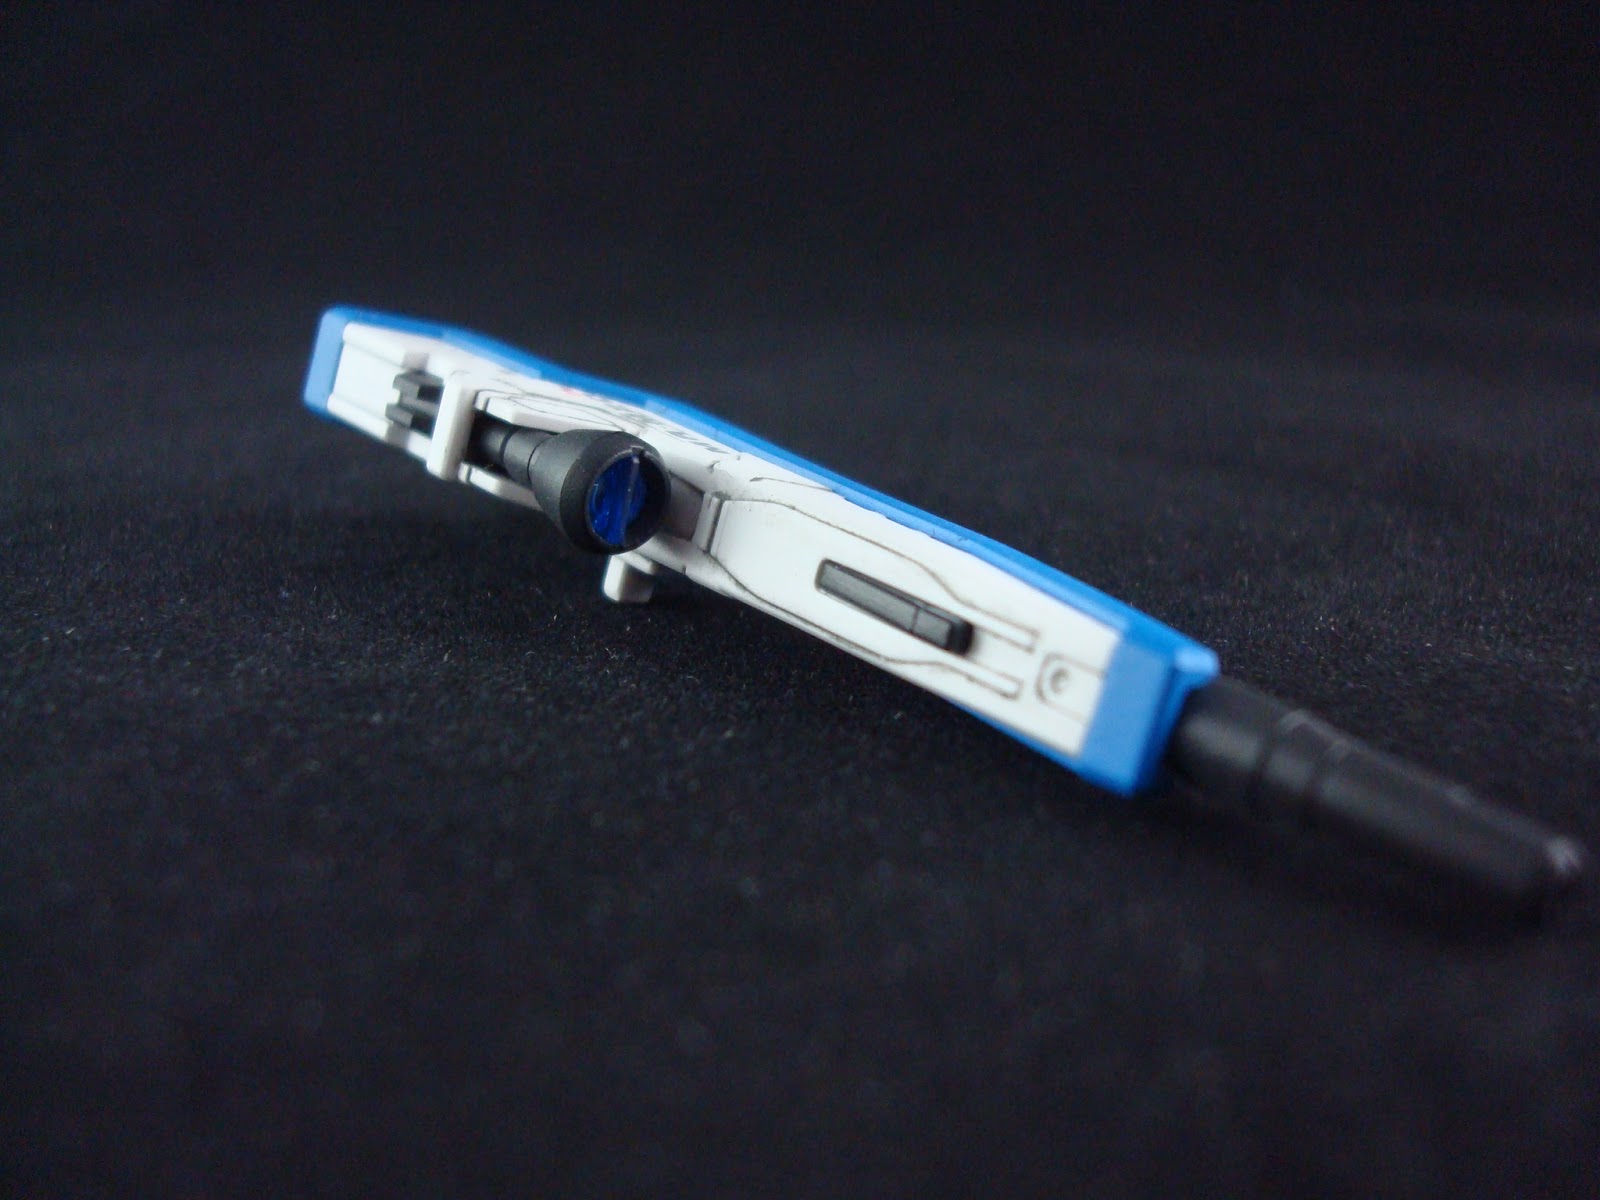
Note: I've noticed that I had the beam sabers on its side skirts on the wrong way and have fixed it halfway through the photo shoot.
Enjoy!


 |
| Lots of dust on the backpack. I didn't notice this until after. It's all clean now! |


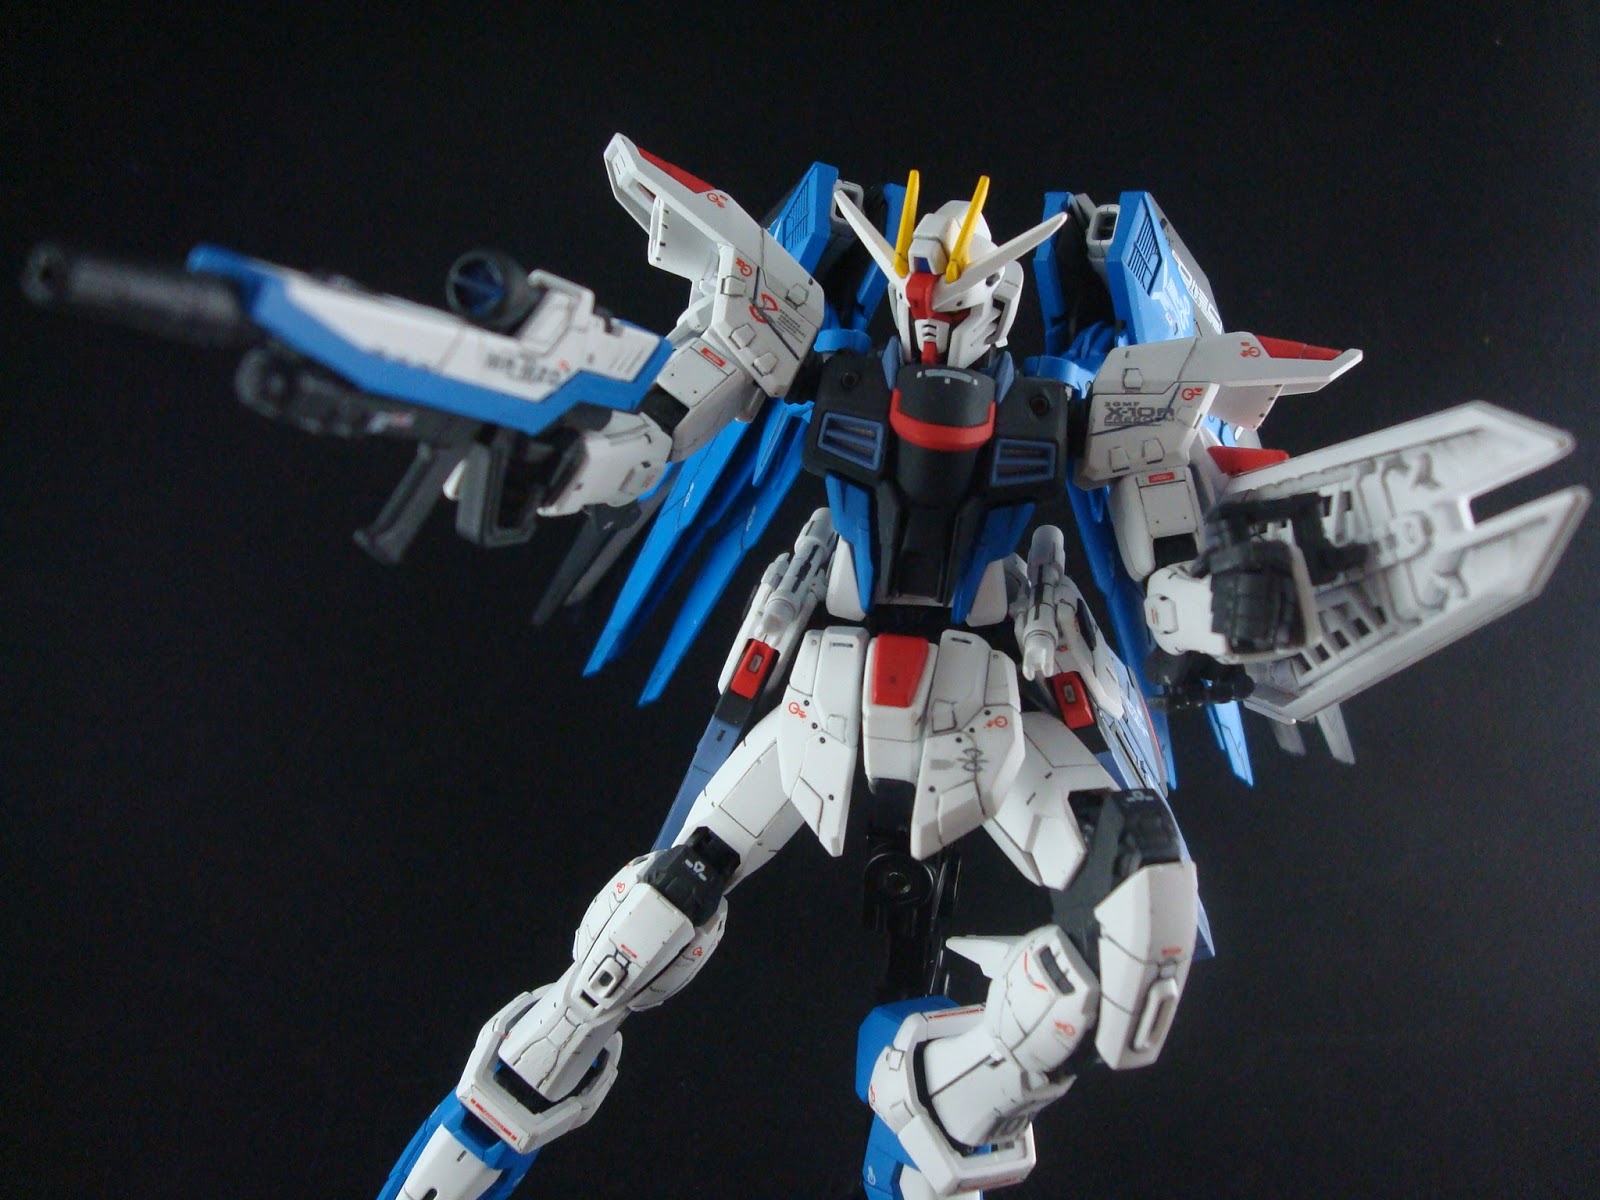


This was definitely a fun build! It was also backbreaking thanks to the decals. Made some mistakes though. The big mistakes I've made with this kit was breaking one of the front skirt pieces, breaking one of the shin pieces, and losing the blue thruster pieces for its shoulder armors. I'm sure if you search hard enough, you can see where they broke and were glued back together. Also even without the shoulder thrusters, it doesn't look bad. What do you think?
As this was my first RG kit, the inner frame was mind blowing. I can safely say that I'm hooked on the RG line and will be continuing to support it. If you haven't tried it, I highly recommend picking one up. I just wish they came with water slide decals instead of those "realistic decals" which are basically stickers.
Hope you guys look forward to my next kit!
Questions, comments, and advice are more than welcomed!
Thanks for reading!
Hello awesome builder!! should you recommend me to buy to globaltoy the water decals?? i don't really like the stickers one. and also I bought the zeta real grade one, and same shit with the decals... stickers.... so I think i should buy the water decals for the zeta and the freedom at same time. How long did you wait for the decals?
ReplyDeleteI really impress of your work, your amazing ;)
Julien
Hey fellow Gunpla builder! Thank you for the compliments! I feel the same way about those stickers as well. Waterslide is definitely the way to go. The RG Freedom waterslide decal from globaltoy is spot on with the exception of missing one piece. That same piece was actually missing on the original sticker sheet that the kit came with so I suppose it is partly Bandai's fault since globaltoy and Samueldecal both seems to just scan the sticker sheets in the original packaging and turn them into waterslides.
DeleteAs for the Zeta one, I have had people tell me it is a perfect copy so it should be fine to order both from globaltoy. I recently placed an order on Zeta from globaltoy as well and I'll actually make a post comparing some of the decal sheets I got from globaltoy and Samueldecal once my orders come in.
It takes about 1-2 weeks for the decals to arrive. It's a bit of a wait, so I suggest you place your order before you start on your kit.
By the way, it might actually be cheaper to go with Samueldecal. Samuel has the RG Freedom and Zeta for $4.4 + shipping while Globaltoy has Freedom for $5.99 and Zeta for $7-$8 + shipping costs. Samueldecal has a facebook page with photos of the waterslide decals.
Thank you Wildo for your quick answer! :D
DeleteI'm going to purchase on samueldecals, like you said is a little bit cheaper than the ebay's one. You said 1-2 weeks! to arrive... is quicker than excepted! Hope they will arrive at same time! (I live in switzerland).
By the way, I also have two questions i want to ask if you have time to answer.
1. I see that you use the "model master classic black" for the panel lines, is it complicated to use it. (I'm was going to buy a gundam marker for that, but it looks better your way!) what do you think if a buy the "Nuln Oil (Badab Black)" from citadel. it looks great for panel lining, nope?
2. I don't really get about the Mr. primer 1200, what is that? Is like a the tamiya white primers or a clear coat ?
thank you again!
Julien
Yup 1-2 weeks. The latest order I placed took 10 days since I ordered on 05/26/13 and received it today 06/05/13.
Delete1. I'm not very familiar with Citadel paint line, but from doing a quick search it seems like they are ACRYLIC paints. The panel lining technique I used is called panel washing which uses ENAMEL paints thinned with lighter fluid so that it can "run" along the edges by capillary action. So I would not recommend using Citadel paints for panel washing.
ENAMEL paint is used because it can be easily removed using lighter fluid and it will not harm the paint job. A brief outline of how to use this method is:
1 - Topcoat the pieces using GLOSS topcoat. GLOSS topcoat will provide a smooth surface for the ENAMEL panel to easily flow in between the crevices or edges.
2 - Mix ENAMEL and lighter fluid (I use either 1:1 or 1:4 paint to lighter fluid ratio depending on what I'm panel lining).
3 - Using a fine brush, dip the brush head into the mixture and then dab it onto the area you want to panel wash.
4 - Let it dry. Usually 10 minutes will do the trick, but sometimes I leave there to dry for 30 minutes. It really doesn't matter how long you let it dry as long as it gets dry.
5 - Put some lighter fluid onto a cotton swab and CAREFULLY wipe the excess away.
6 - After everything has been panel washed, coat the pieces again with your final choice of topcoat.
Here is a brief tutorial on it.
It's not complicated, but practice will be needed. If you end up wiping away too much, you can always repeat the steps until you are satisfied.
2. Mr. Surfacer 1200 is a bottle of primer made to be used with an airbrush since you have to thin it before using it. If you do not have an airbrush, alternative choices are primers in spray can form. I'm not sure what kind of options there are over at Switzerland, so I can't give any specific alternatives.
I hope this helps! If you have any more questions, don't hesitate to ask.
Thank you wildo, that's an awesome and huge answer!!
Deleteconcerning the panel linning: I really like this technique, (I also watch youtube tutos) I think it's the great way for panel lining, thanks for the procedure and for the link!
I only have to buy an ENAMEL paint somewhere, the lighter fluid I already have one :D
for the top coat gloss : I have this one : the TS-13 Tamiya clear coat. I think, but not sure, that's a gloss type.
concerning the primers: I'm not using an airbrush, so Mr surfacer 1200 is not very usefull for me right now, but thanks for the explaination :)
About the spray can primers, I only found in "technic Hobby" shop in my town, tamiya GREY primer, the seller told me they have not the white one, but said the grey one works also. what do you think?
Thanks for all the advice!
No problem at all! If done right, panel washing will definitely make your kit look much better. You can still use the fine gundam marker, but in my opinion the marker lines are too thick.
DeleteYup, the TS-13 is a gloss topcoat.
The Tamiya grey primer will work as well. I use those sometimes when I'm too lazy to work with the airbrush. They can spray a bit thick though just like any other spray cans. The only difference between the white and grey primer is that the shade of the paint color will change slightly. Anything over white will be slightly lighter and anything over grey will be slightly darker.
Hope this helps!
This comment has been removed by the author.
ReplyDelete