
As stated in my earlier post, my 2nd kit is the RG Freedom. I've been looking forward to building this because it'll be my introduction into the RG scale. Let's get to it!
Covering this kit will be my first start-to-finish work in progress (WIP), since I was in the middle of building the SD Strike when I decided to start this blog. Thus, I'll be trying out a new format. First would be showing all the pieces of each runner:
 |
| Runner A |
 |
| Runner B. These pieces make up the inner frame. |
I was genuinely surprised from reading the build manual that these pieces can move. Even more so when I tried it out for myself.
 |
| Runner C |
 |
| Runner D. |
Parts from Runner D are not purely white in color; they are slightly cloudy. Sort of reminds me of pearls.
 |
| Runner E1 |
 |
| Runner E2 |
 |
| Runner F1. Runner F2 is the same with the exception of 2 pieces. Shoulder vent piece not pictured. |
Sad story regarding Runner F1. After taking care of the nubs, I was washing the pieces in warm soapy water. Usually, I would close the drain to make sure no pieces go down the drain, but for some reason I was being dumb and had the drain opened while washing the pieces of F1. One of the parts is a very tiny vent piece that's part of the shoulder armor. As you can guess, I dropped this piece while rinsing it and straight down the drain it went.
I know some sites like Gentei Kits and Gundam Store and More offer replacement part services, but I can't justify spending around $5 to get a single tiny part. So, my RG Freedom will be missing that shoulder armor's vent piece on both shoulders to make it even
In addition, I received a phone call so I left the rest of the pieces on a towel on the floor to dry. After ending the call, I went back to my work space and saw the towel on the floor and knew that it had pieces in it. I thought to myself "I'll just pick it up after I sit down" and *crack*. I stepped on the pieces even though I knew they were there. So I ended up losing a piece and breaking one. I glued back the one I broke and it's holding out pretty well for now. Two mistakes one after another.
 |
| Runner G |
From just cutting the pieces from the runners, I'm hooked. The number of pieces and the amount of detail in each of the pieces are extraordinary. I'm sure I'll be getting more from the RG series in the future.
After cleaning each piece, I did a mock build. Here is the result:
 |
| No wings because I disassembled it before thinking of taking this picture. |
 |
| It looks awkward because his lower half and upper half are not snapped together. |

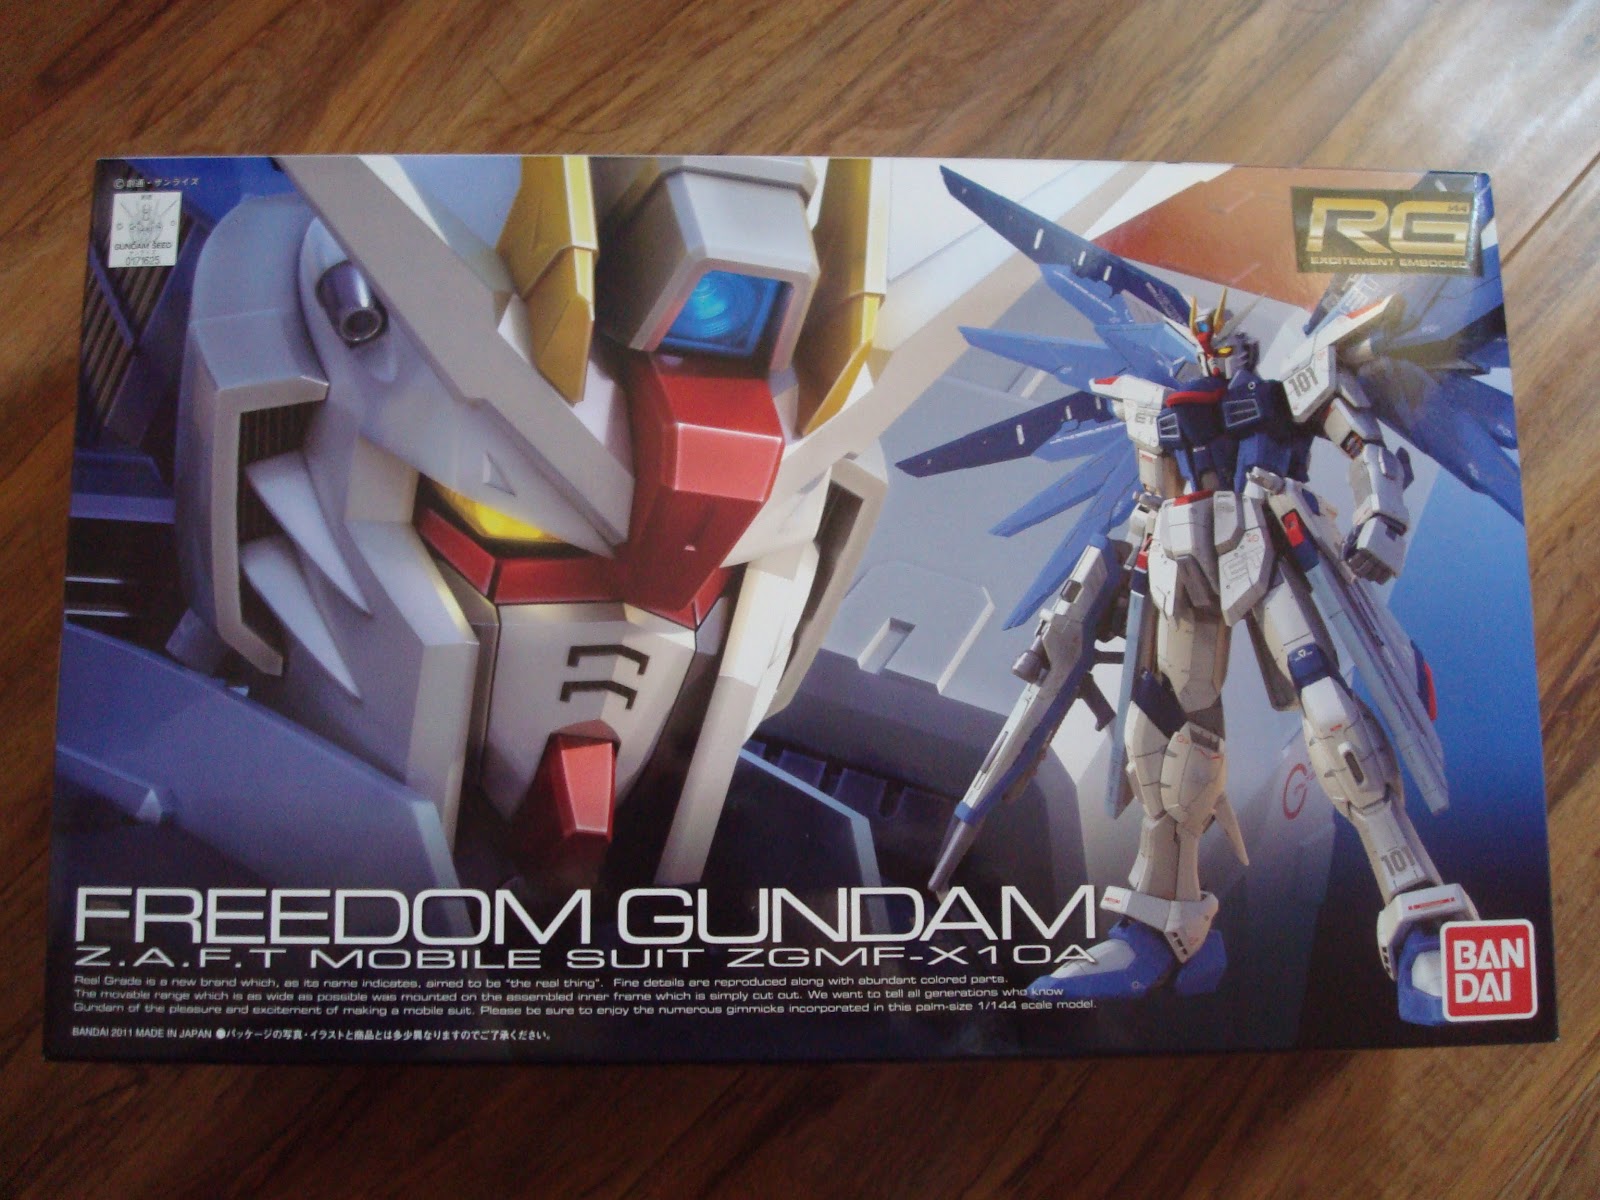
The eyes are going to need some work. It consists of a clear and a yellow piece from Runner A. When building OOB, the clear piece goes in front of the yellow piece. However, I'll be doing a reverse wash on the clear piece to get the black background around it's yellow eyes. The box art above shows what I mean.
 |
| A close up to show some of the details on the pieces. |


Time for priming and painting!
 |
| Primed (Tamiya White) and painted in Mr. Color White (1) |
 |
| Middle 9 parts are primed in grey (Tamiya Grey). Parts on the side are primed in white (Tamiya White). |
The grey primer is a pretty nice color by itself. I may use it as a base coat for when I do pre-shading on my later kits.
 |
| Same parts as above, but painted. |
 |
| 65% Mr. Color Bright Blue (65) + 35% Mr. Color White (1) |

It was my first time mixing paint, but I'm happy with the end product. I followed the color guide as posted on mech9.com. As a side note, mech9 lists the blue on RG Freedom as 60% and 40% Bright Blue and White respectively, but I went with 65% Bright Blue since I wanted a bit more "blue" in my paint.
Lastly, some of you may have noticed that I enlarged the pictures. Let me know if you like this current size or prefer the sizes from my previous posts.
Questions or comments are more than welcomed!
Thanks for reading!
No comments:
Post a Comment