Hi guys! First of all, I hope you all had a great holiday as well as an awesome Black Friday! Now, on to business.
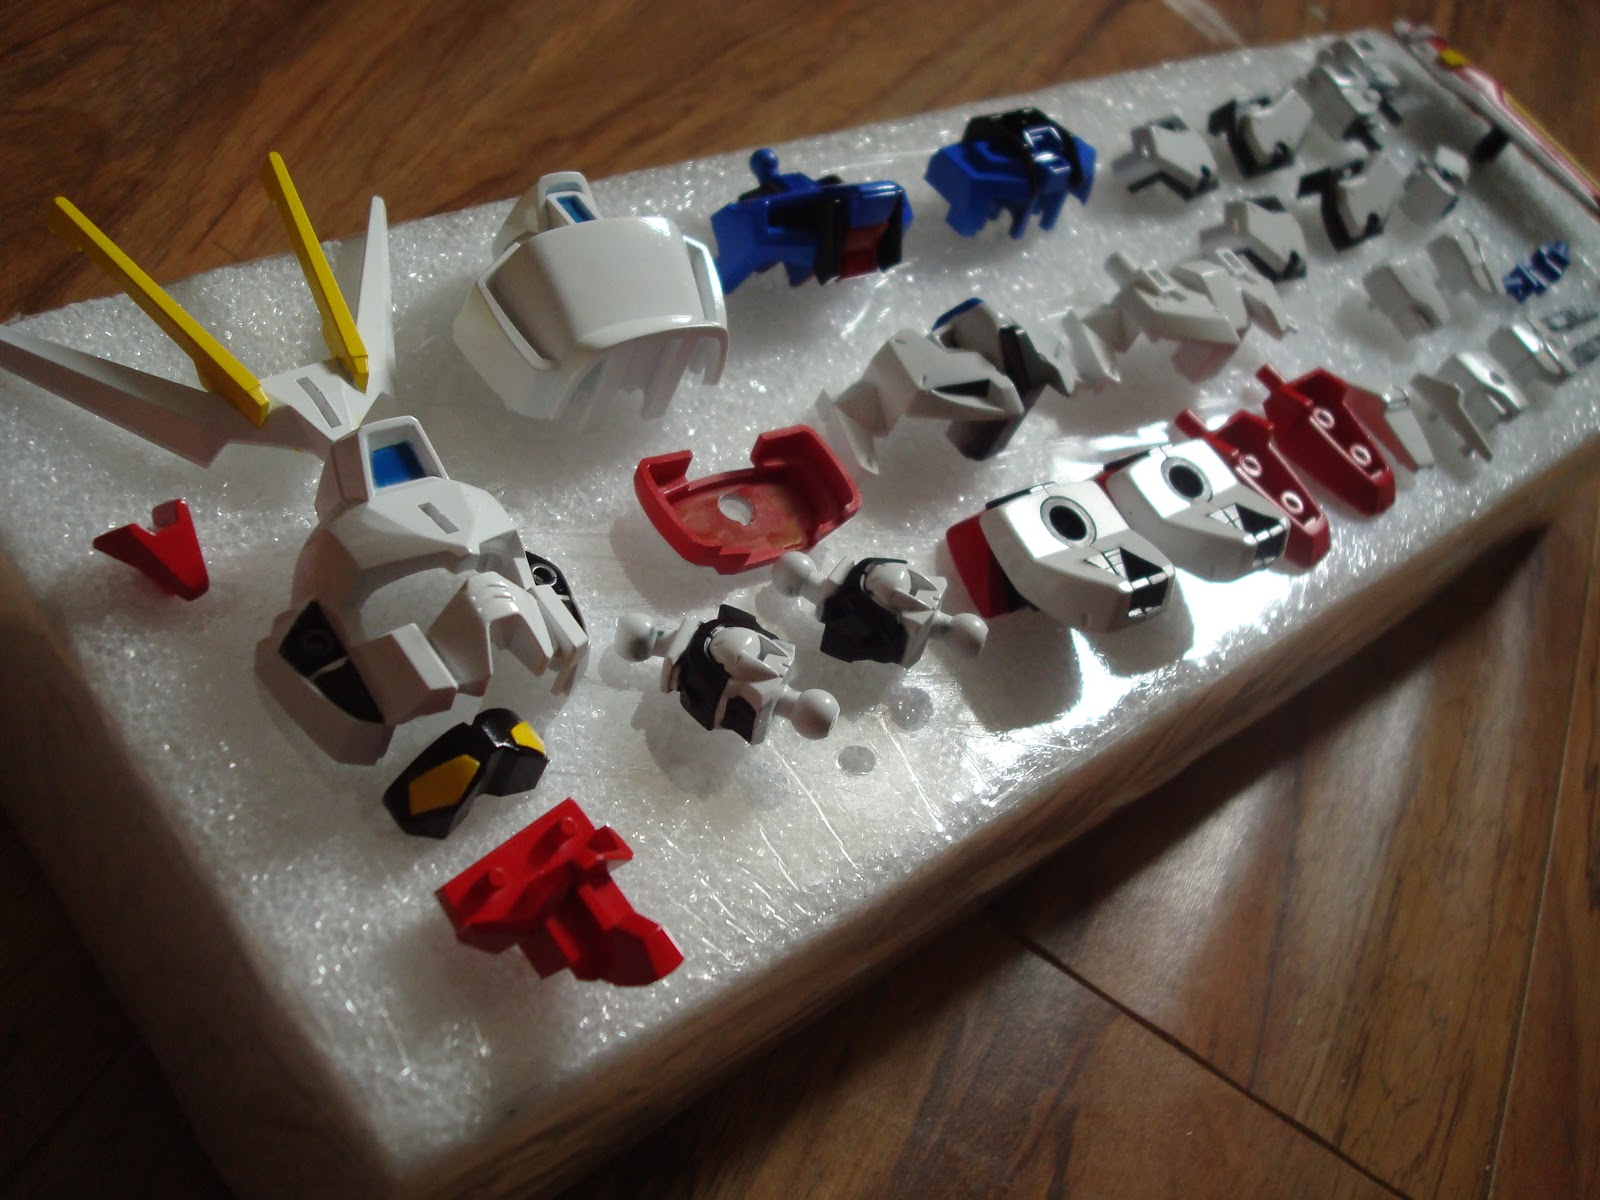
I've been wanting to update my blog for a while now, but since I wanted to take some pictures during the daytime I didn't have a chance until today. So starting from where I left off last time, all parts are painted!
I've got to say that it came out better than I expected, especially the head and the torso unit. I'm a bit partial towards how the blue camera turned out though. I was hoping that I could get a clear blue effect as if it was a clear blue plastic part if you know what I mean. However, there is no clear effect. It still does look good, but it's just not what I wanted. Maybe I should used 1 very light clear blue coat instead of 2 regular coats. Lesson learned. I also did some mock build to see how it'll turn out and here are the results in segment sequences:
 |
| I really really love how the head turned out. |
 |
| Purposefully didn't "snap" the parts together. |
 |
| Got some dust that needs to be taken care of. |
 |
| A little touch up on the right ankle piece is needed. |
 |
| Looks a bit weird proportionally since the parts are not "snapped" into place. |
Once I completed the mock build, I took some notes on where to add panel lines. Other than the obvious indents, there were a few more places I would like to add panel lines to to make it look a bit better. I'll take some pictures of my additional panel lining to show you guys what I mean next time. Once I finished making my notes, I took it all apart, gave a little touch up painting on the ankle piece using a white Gundam Marker, and sprayed some gloss topcoat on it.
 |
| Topcoat on. Now to wait... |
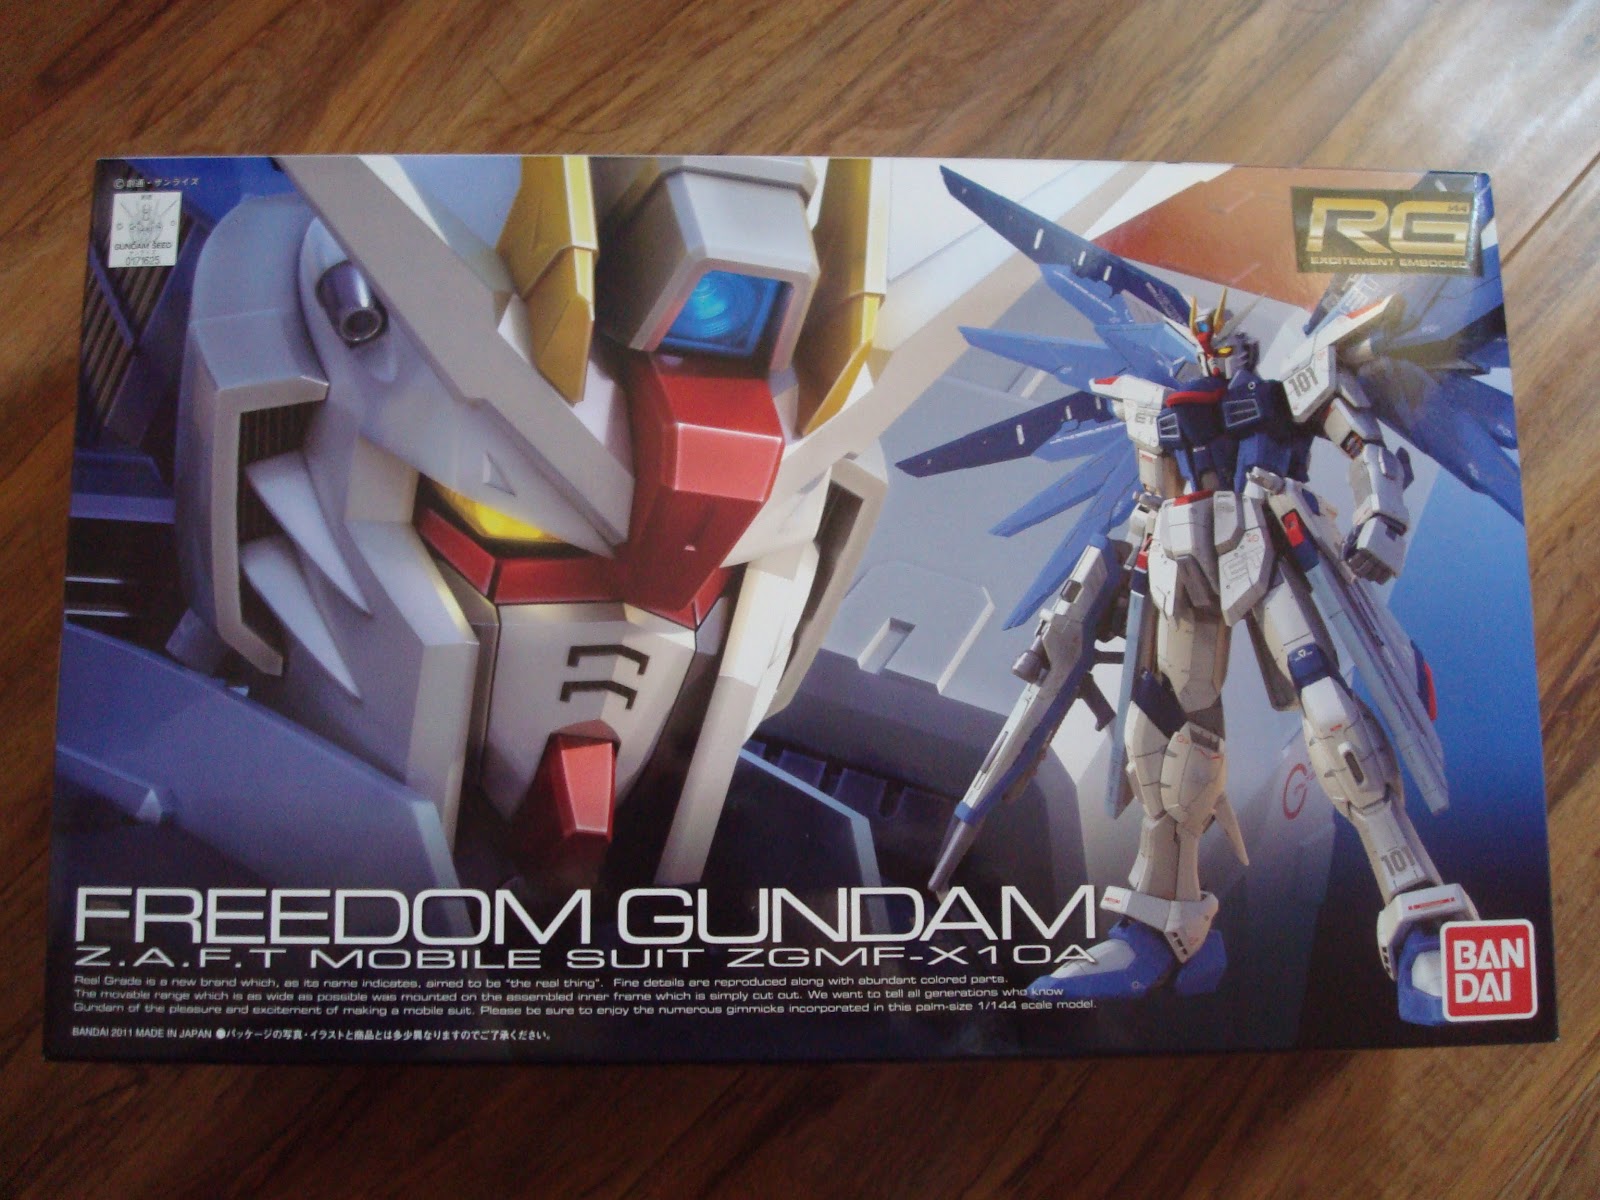
After it dries, it's time to do some detailing using panel washes! Lastly, with the SD Strike coming to a near finish, here's a sneak peek at my next kit: RG Freedom.
Thanks for reading!


No comments:
Post a Comment