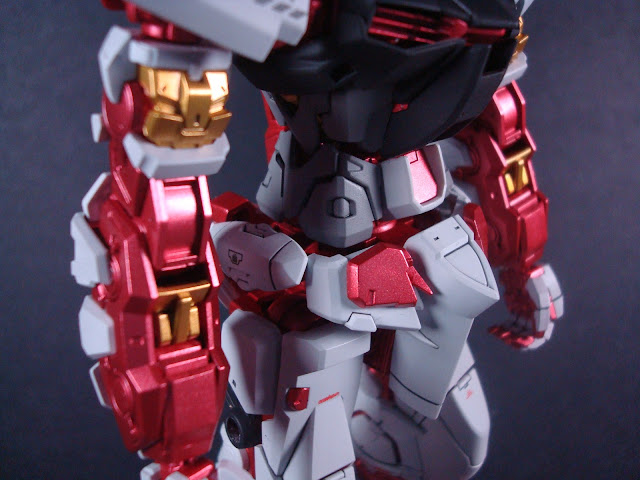
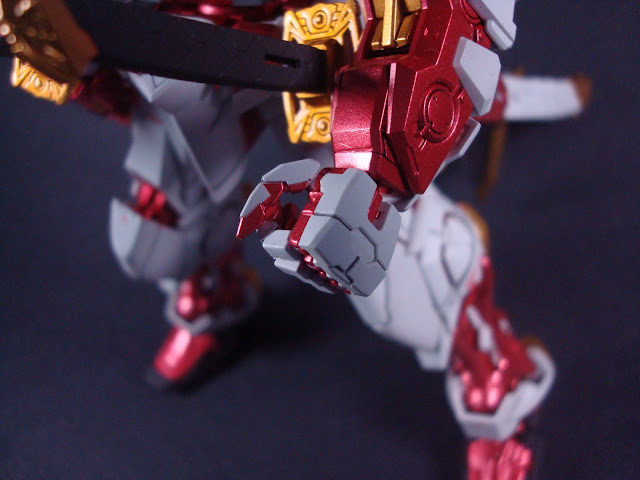
It's all done! This project took almost a month to complete because of some setbacks, but I have to say, the result was well worth the wait. Since I wanted to preserve the paint job, there will be hardly any action poses. I'm still satisfied with the photos I have of it though.
Note: Just as a warning, this post is picture heavy! I believe, there's around 80 pictures total.
Paint Guide:
Note: Unless noted, all the paints are from the Mr. Color line.
Primer
- Mr. Surfacer 1200
- 100% Metal Red (GX202)
White - Armor, Weapons
- 4ml of White (1) + 1 drop of Navy Blue (14)
Dark Blue - Chest, Tactical Arms, Feet, Legs, Head
- 90% Midnight Blue (71) + 10% White (1)
Grey - Abdomen
- 55% White + 40% Neutral Grey + 5% Dark Earth (22)
Gold - Trims, Thrusters, Weapons
- Base coat: 100% Black (2)
- Final layer: 100% Gaia Star Bright Gold (122)
Stainless - Tactical Arms
- 100% Stainless Metallic (213)
Camera
- 100% Clear Green (138)
Eyes
- 100% Bright Green (66)
- Black Surrounding: 100% Model Master Classic Black Enamel
Tactical Arms Camera
- 100% Model Master Ford & GM Engine Blue
Panel Lines
- Model Master Gunship Grey
- Model Master Classic Black
Clear coat and Top coat
- Super Clear III (GX 100)
- Super Clear Flat (182)
- Note: Super Clear III was used on metallic paints and Super Clear Flat on non-metallic paints
Mobile Suit
Mobile Suit - Details

Weapons - Gerbera Straight & Tiger Pierce


Weapons - Tactical Arms IIL Sword Form


Weapons - Tactical Arms IIL Bow Form


Weapons - Tactical Arms IIL V Form
Fully Equipped
Yes, there are a lot of dust on the suit. It was impossible to keep it clean while I was photographing it.
Once all the weapons were equipped, this guy was pretty difficult to stand. The suit itself cannot handle the weight of the Tactical Arms. Thus, kudos to Bandai for including an Action Base 2 just for the Arms. By the way, the Tactical Arms in Sword Form is bigger than the suit itself. I forgot to take some comparison photos, but if anyone asks, I'll put it up in my next post.
I've had to cheat in some pictures (like the one right above) to get it to stand. I'm sure you can somehow use the "pegs" (the golden part that's resting on the action base) to stand it. It would've been great if I took some more action poses, but the Tactical Arm requires too many movements to transform and I wasn't brave enough to risk it. Overall, I'm still satisfied.
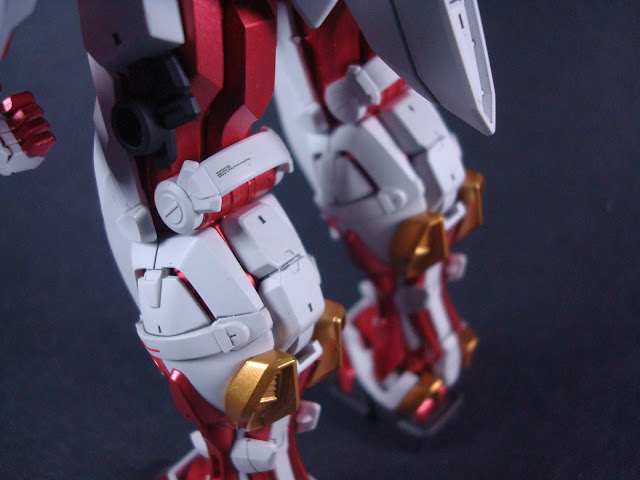
As you can probably tell from the pictures, I love how the legs look on this kit! If you just put the legs' frames together, it really doesn't look much, but once the armor pieces are attached, it's amazing! It's bulky yet sleek design is just superb. I love how instead of having all white armor pieces, some of the white armor are under the red armor as shown in some of the side view pictures. Plus, I love how the armors "open-up" when you bend the leg joints!
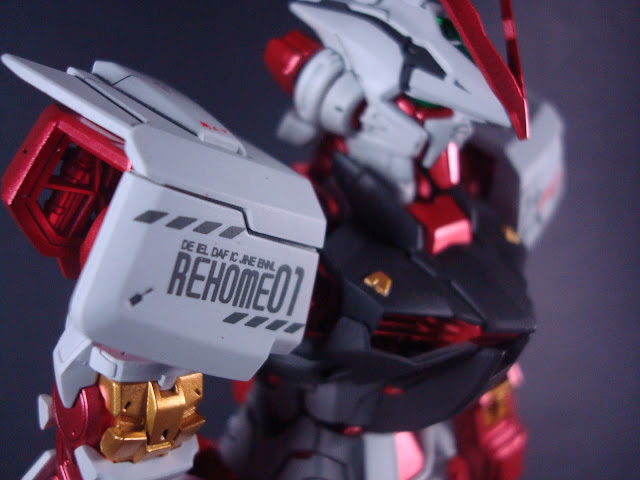
The decals are water slide decals I bought from globaltoys over at Ebay.
I highly suggest this kit to everyone. It's a solid build and I'm sure you will all enjoy it.


Came out super clean Wildo! Really looks awesome! Love all the details and the tactical arms is probably my favorite part. Your pictures are really nice too! I almost though the white was shade for a second. Only crit I'd have is that you didn't fill all the panel lines in like on the back of head and the gold parts of the TA and swords. The good thing is that actually doesn't really take away from you work and can be easily fixed if you choose to do so. All in all I'd call this an excellently painted kit :)
ReplyDeleteThanks! I appreciate the compliments! That drop of navy blue did it's job then, haha.
DeleteYou are absolutely right about the panel lines. I had to actually repaint some of the gold parts on the TA cause I chipped some paint while I was assembling and transforming it. I completely forgot to re-do the panel lines on the gold. However, for the swords, I couldn't get a clean finish when I tried to panel line all the engravings. So I decided to skip it since it looked decent enough. The panel lines on the TA will be added soon!
Hint of navy blue picks up well on camera. Great color
ReplyDelete