MG Red Frame Kai
 |
| All the painted pieces with about half clearcoated |
I got around to painting most of the pieces except for one last batch. The weather was decent to use my gloss Mr. Super Clear spray can, but I didn't have enough time to clearcoat all the pieces. Since my GX100 Super Clear IIIs did not come yet, only about half of the pieces you see above have been clearcoated.
I'm having a bit of a trouble figuring out what color to paint the rest of the pieces which makes up the "inner frame" of the Tactical Arms. By "inner-frame" I mean
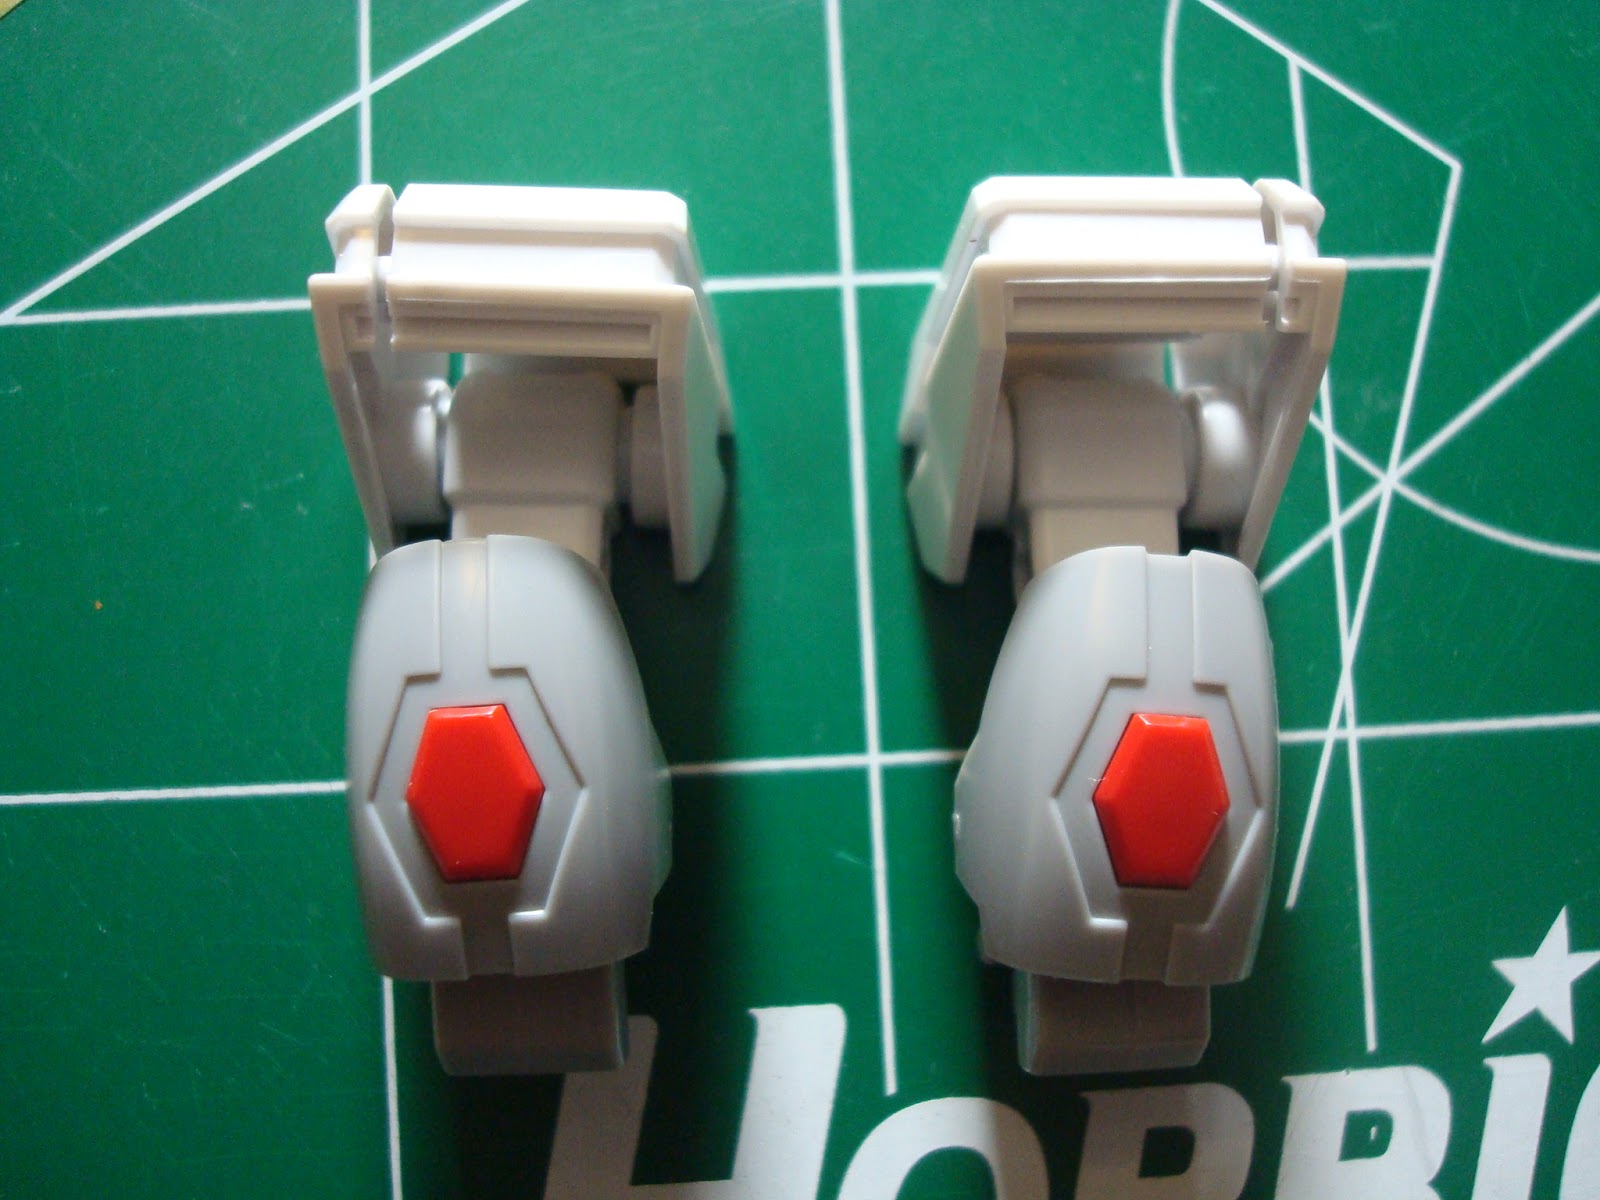
pretty much all the dark blue pieces (photo courtesy of
Dalong.net). I'm trying to find a color that is sort of like dark brass or any other color that will transition easily from gold. I can't really explain well, but the closest example I can give is
Mr. Color GX209 Metal Red Gold, but darker so that the gold and red will stand out more. I have made several paint mixture attempts with no avail, so if all else fails, I'm thinking of going with
Mr. Metal Color Stainless or
Mr. Metal Color Iron. *All paint hyperlinks are from
R4L*
 |
Left: Original red that the kit comes as
Right: Mr. Color GX202 Metal Red |
 |
| Black (2) as base coat |
 |
| Gaia Star Bright Gold on top of the Black (2) base coat |
The gold looks like brass in the above pictures because there is no light directly hitting it. Once there is light directly on the pieces, it is a gorgeous shade of gold. I wish I had a better camera to take some higher quality pictures.
 |
| Gaia Star Bright Gold with light directly hitting |
I couldn't get much assembly done without clearcoating all the pieces. I did manage to put together some more onto the torso, namely the gold pistons on the side and a couple pieces on the lower section.
That's all I have for the Red Frame. I was very pleased at how well the small amount of gold looks with the red in the torso. Other than painting my last batch of parts, I can't do anything further with it. Just have to wait until the Super Clear IIIs come or until I have some more time during the day in a nice weather. Onto Stargazer!
SD Stargazer
My next kit is the SD Stargazer. I've always been attracted to the Stargazer ever since the webisodes. It's a simple looking suit, but its gold trims and backpack makes it stand out.
 |
| 4 runners including the polycap and a sticker sheet |
 |
| Runner A1 |
 |
| Runner A2 |
 |
| Runner B |
 |
| Polycaps |
 |
| Sticker sheet... lots and lots of stickers... |
I was afraid this might be the case. There are A Lot of stickers. The majority of the stickers are for the gold trimming and are placed in the grooves in the pieces as shown below. I can foresee several hours being spent on masking alone. On the other hand, I get to use Gaia's Star Bright Gold again! It'll be a tedious and time consuming, but an overall exciting project.
 |
| Weakest looking weapon on a main mobile suit so far |
I've already cut out all the pieces and even finished with the mock build. It looks decent without any of the stickers so I can't wait until how it'll turn out fully painted.
 |
| Runner A1 |
 |
| Runner A2 |
 |
| Runner B |
 |
| This is going to take a lot of patience... |
As I was assembling the mock build, I noticed there are several places that will be testing my patience and masking skills. They are the kneecap areas of each leg piece and the vulcans on each side of the head. It'll be tedious, but the end result will be worth it. Additionally, the backpack has a gimmick of its own; it can turn into the suit's personal stand! No pictures of it just because I forgot to take any. Hope you guys look forward to next time!
Questions, comments, and advice are more than welcomed!
Thanks for reading!


No comments:
Post a Comment